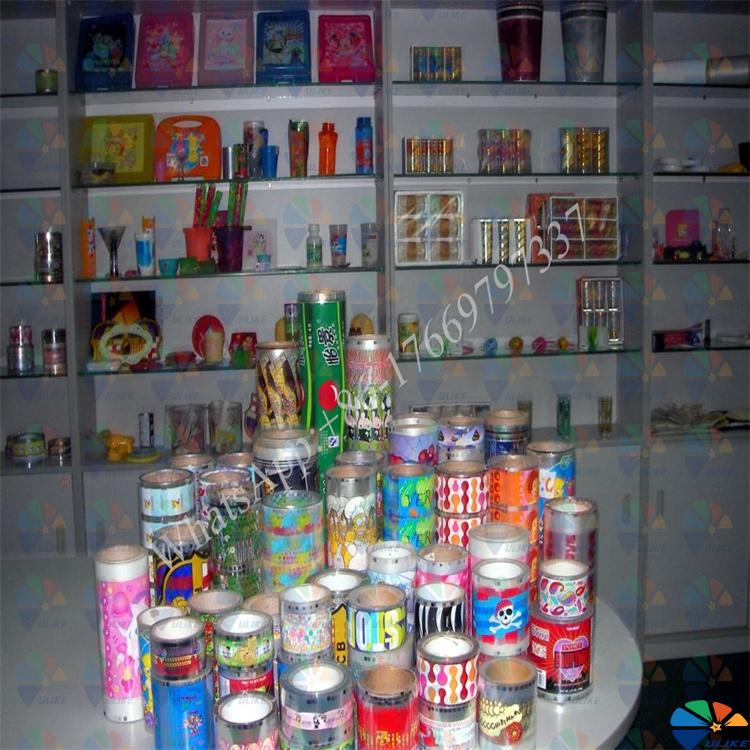
Preparation for thermal transfer processing
Preparation for thermal transfer processing
The thermal transfer processing process is divided into two parts
1. Pre-production preparation for
thermal transfer processing:
Schematic diagram of thermal transfer processing process
1.1 The workshop manager arranges the production plan, issues the "Thermal Transfer Processing Production Order", assigns specific tasks to the corresponding machines and personnel, and provides necessary explanations and guidance for the specific tasks.
1.2 After the operator receives the thermal transfer processing task and receives the required workpieces and other production materials, he arranges to adjust the transfer machine for the specified or corresponding needs (such as flat ironing or rolling ironing) or asks the technicians in the workshop to adjust it.
1.3 Install the mold: Install the special clamp for the substrate on the rolling seat or flat push seat or contour seat or special device, and then install it on the workbench of the transfer machine, move the workbench, so that the center of the round ironing or flat ironing substrate is aligned with the center of the ironing furnace spindle; make the right end of the round ironing substrate 20 to 30 mm away from the vertical point of the center of the ironing furnace spindle, and then fix the workbench.
1.4 Adjust the downward pressure distance of the vertical cylinder, that is, the distance between the silicone roller and the substrate, which is generally controlled between 6 and 8 cm. After adjustment, turn the manual descending button to press the hot furnace downward, and adjust the hot stamping surface of the substrate to be parallel to the rubber roller based on the parallelism of the silicone roller. If it is not parallel, you can adjust the angle of the hot stamping seat or the 4 M12 fine-tuning screws connected to the column mounting plate or the electric heating mounting plate or the substrate clamp balance screw. After adjustment, lock all fasteners, and then adjust the fine-tuning nut on the vertical cylinder to adjust the actual pressure required between the rubber roller and the substrate. After reaching the required pressure, tighten the anti-locking nut.
1.5 Install the required hot stamping film on the film placement shaft, and introduce the flower film into the film collection shaft. Adjust the distance between the flower film and the rubber roller, which is generally within 1 to 4 mm. If the distance between the flower film and the rubber roller is too short, it is easy to cause wrinkles due to heat. Adjust the electric eye rod and the two film rack rollers to balance, adjust the height based on the actual space of the hot stamping product, and adjust the flower film to balance. Take the actual pattern of the required hot stamping film as the starting point, adjust the position of the photoelectric eye after the hot stamping center, press down the hot stamping furnace, and ensure that the flower film, rubber roller, and substrate product are aligned.
1.6 Before the trial printing, check whether the fasteners of the lifting mechanism are locked, whether the cylinder fine-tuning anti-locking nut is tightened, whether the power switch and the selection switches are in normal working condition, start the rubber roller motor and the hot stamping furnace spindle to start running. And conduct a trial printing, turn the hot stamping selection to the single-cycle hot stamping mode, press the hot stamping button or the foot switch, and after completing a hot stamping action program, the machine returns to the initial action state.
1.7 According to the actual hot stamping length of the substrate and the speed of the rubber roller, determine the hot stamping time or the stroke of the horizontal push cylinder. Adjust the position of the limit sleeve so that the travel switch controls the film rolling motor to ensure that the film is evenly collected. Press the hot stamping button to complete a hot stamping program. If any abnormality is found, press the emergency stop switch. The working state of the machine immediately returns to the initial state to protect the safety of the rubber roller and the operator.
1.8 After debugging and everything is normal, check again whether the hot rubber roller is rotating and whether the heating tube is heating evenly. First adjust the temperature of the rubber roller to about 100℃, and then increase it to the required hot stamping temperature after automatic constant temperature. The general heating time is 25 minutes.

![af]() Afrikaans
Afrikaans![sq]() Albanian
Albanian![am]() Amharic
Amharic![ar]() Arabic
Arabic![fr]() French
French![es]() Spanish
Spanish![ru]() Russian
Russian![de]() German
German![hy]() Armenian
Armenian![it]() Italian
Italian![ja]() Japanese
Japanese![ko]() Korean
Korean![pt]() Portuguese
Portuguese![hi]() Hindi
Hindi![az]() Azerbaijani
Azerbaijani![ro]() Romanian
Romanian![pl]() Polish
Polish![th]() Thai
Thai![el]() Greek
Greek![eu]() Basque
Basque![en]() English
English![zh-CN]() Chinese (Simplified)
Chinese (Simplified)![zh-TW]() Chinese (Traditional)
Chinese (Traditional)![be]() Belarusian
Belarusian![bn]() Bengali
Bengali![bs]() Bosnian
Bosnian![bg]() Bulgarian
Bulgarian![ca]() Catalan
Catalan![ceb]() Cebuano
Cebuano![ny]() Chichewa
Chichewa![co]() Corsican
Corsican![hr]() Croatian
Croatian![cs]() Czech
Czech![da]() Danish
Danish![nl]() Dutch
Dutch![eo]() Esperanto
Esperanto![et]() Estonian
Estonian![tl]() Filipino
Filipino![fi]() Finnish
Finnish![fy]() Frisian
Frisian![gl]() Galician
Galician![ka]() Georgian
Georgian![gu]() Gujarati
Gujarati![ht]() Haitian Creole
Haitian Creole![ha]() Hausa
Hausa![haw]() Hawaiian
Hawaiian![iw]() Hebrew
Hebrew![hmn]() Hmong
Hmong![hu]() Hungarian
Hungarian![is]() Icelandic
Icelandic![ig]() Igbo
Igbo![id]() Indonesian
Indonesian![ga]() Irish
Irish![jw]() Javanese
Javanese![kn]() Kannada
Kannada![kk]() Kazakh
Kazakh![km]() Khmer
Khmer![ku]() Kurdish (Kurmanji)
Kurdish (Kurmanji)![ky]() Kyrgyz
Kyrgyz![lo]() Lao
Lao![la]() Latin
Latin![lv]() Latvian
Latvian![lt]() Lithuanian
Lithuanian![lb]() Luxembourgish
Luxembourgish![mk]() Macedonian
Macedonian![mg]() Malagasy
Malagasy![ms]() Malay
Malay![ml]() Malayalam
Malayalam![mt]() Maltese
Maltese![mi]() Maori
Maori![mr]() Marathi
Marathi![mn]() Mongolian
Mongolian![my]() Myanmar (Burmese)
Myanmar (Burmese)![ne]() Nepali
Nepali![no]() Norwegian
Norwegian![ps]() Pashto
Pashto![fa]() Persian
Persian![pa]() Punjabi
Punjabi![sm]() Samoan
Samoan![gd]() Scottish Gaelic
Scottish Gaelic![sr]() Serbian
Serbian![st]() Sesotho
Sesotho![sn]() Shona
Shona![sd]() Sindhi
Sindhi![si]() Sinhala
Sinhala![sk]() Slovak
Slovak![sl]() Slovenian
Slovenian![so]() Somali
Somali![su]() Sudanese
Sudanese![sw]() Swahili
Swahili![sv]() Swedish
Swedish![tg]() Tajik
Tajik![ta]() Tamil
Tamil![te]() Telugu
Telugu![tr]() Turkish
Turkish![uk]() Ukrainian
Ukrainian![ur]() Urdu
Urdu![uz]() Uzbek
Uzbek![vi]() Vietnamese
Vietnamese![cy]() Welsh
Welsh![xh]() Xhosa
Xhosa![yi]() Yiddish
Yiddish![yo]() Yoruba
Yoruba![zu]() Zulu
Zulu


